Design3 min read
 Clothify
 tools
Compare garment measurements before and after washing, check your own tolerance and export a sample record.
See what the wash changed
Enter length and chest width before and after washing, or try the example.
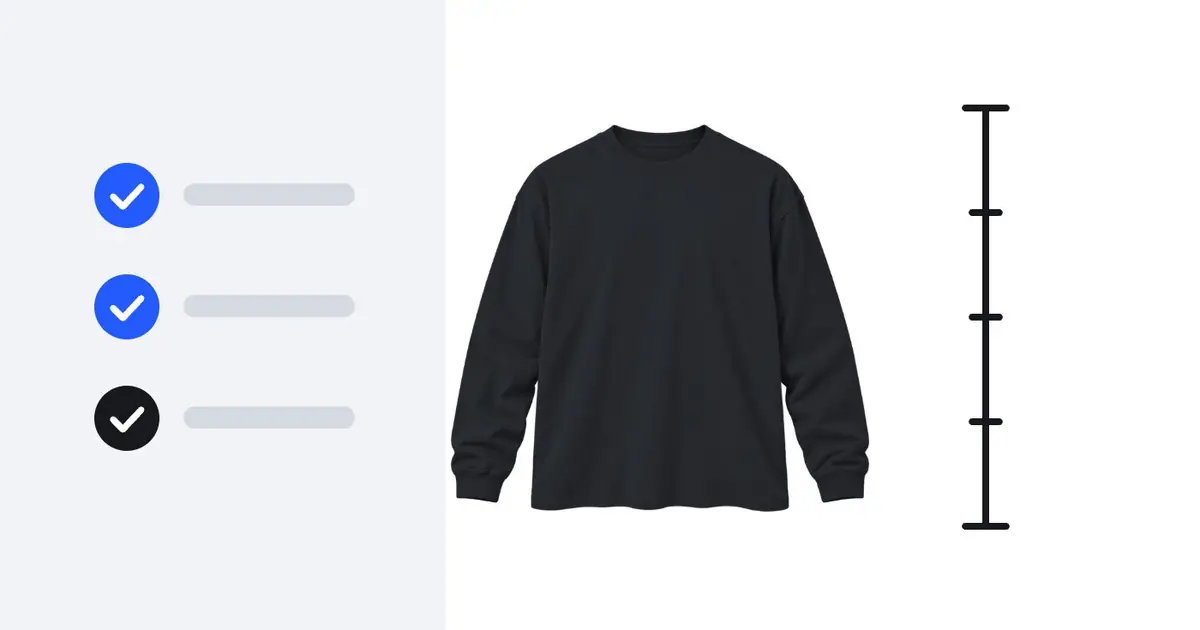
Lay the sample flat and record body length and chest width at points you can find again.
Follow the care instructions for the product, then let it dry fully before you measure.
Choose the most change your size chart can absorb. The tool starts at 3% and you can change it.
Tick your other checks, then print the record or download the CSV for your sample notes.
This is the sample the Try an example button loads. The measurements and the 3% limit are illustrative, not supplier test results or an industry standard.
A sample shirt measures 28 inches long and 22 inches across the chest before washing. After one wash and a full dry it measures 27.5 by 21.5 inches. Both dimensions lost half an inch, but they did not shrink by the same percentage.
Half an inch of 28 is 1.79%, while half an inch of 22 is 2.27%, because the chest started smaller. The check uses the larger of the two, 2.27%, so a big change in one direction can never be averaged away. Against the chosen 3% limit, the sample passes.
Chest width, step by step
Shrinkage is the change in a measurement as a share of where it started. The same formula works in inches or centimeters.
Shrinkage for one measurement
BeforeminusAfterdivided byBeforetimes100equalsShrinkage %
The method follows Clothify’s clothing sample checklist: measure the finished piece before washing, follow the product’s care instructions, then measure the same points again once it is fully dry.
The ticked checks are your own observations and are only saved in the CSV or printout you take with you. The print size checker covers artwork resolution separately.
Where to put the tape, and the measurement you would see after common amounts of shrinkage. Plain arithmetic you can check against your own sample.
| Before | After 1% | After 2% | After 3% | After 5% |
|---|---|---|---|---|
| 20 | 19.8 | 19.6 | 19.4 | 19 |
| 22 | 21.78 | 21.56 | 21.34 | 20.9 |
| 26 | 25.74 | 25.48 | 25.22 | 24.7 |
| 28 | 27.72 | 27.44 | 27.16 | 26.6 |
| 30 | 29.7 | 29.4 | 29.1 | 28.5 |
Wash test log template. A blank CSV with every field to record for one sample: product, size, care method, both measurements, the change and your checks.
Subtract the measurement after washing from the measurement before, divide by the before measurement and multiply by 100. A body length that goes from 28 to 27.5 inches shrank 1.79%. Do it separately for length and width, because they rarely change by the same amount.
There is no single number that fits every product. Decide how much change your size chart can absorb before a customer would end up in a different size, and use that as your limit. The 3% this tool starts with is a starting point, not a supplier or industry standard.
Lay it flat without stretching it. Measure chest width straight across using the method in the supplier’s size chart, and body length straight down from a point you can find again to the hem. After washing, wait until it is fully dry and measure the same points.
A negative result means the measurement got bigger after washing, so the garment stretched or relaxed in that direction. The calculator treats growth and shrinkage the same way when it compares the largest change with your limit.
Yes. Clothify’s sample checklist suggests measuring the finished piece before washing, washing it as your customer will, and measuring again once it is dry. Compare photos too, because print cracking or color loss does not show in the numbers.
No. A first wash can catch an obvious problem, but it does not establish long-term behavior. Repeat the test after more washes if fit is critical, and keep each record so you can compare them.
Design3 min read

Selling and marketing5 min read
Design5 min read