Clothify
On this page
Record measurements in the wash and shrinkage checker and download a sample worksheet before placing a production order.
A clothing sample checklist starts with the exact product you plan to sell. Order a finished piece with your artwork, measure the garment and print before washing, then repeat after drying. Approve it only if the fit, artwork and care instructions match what a customer will see on your product page.
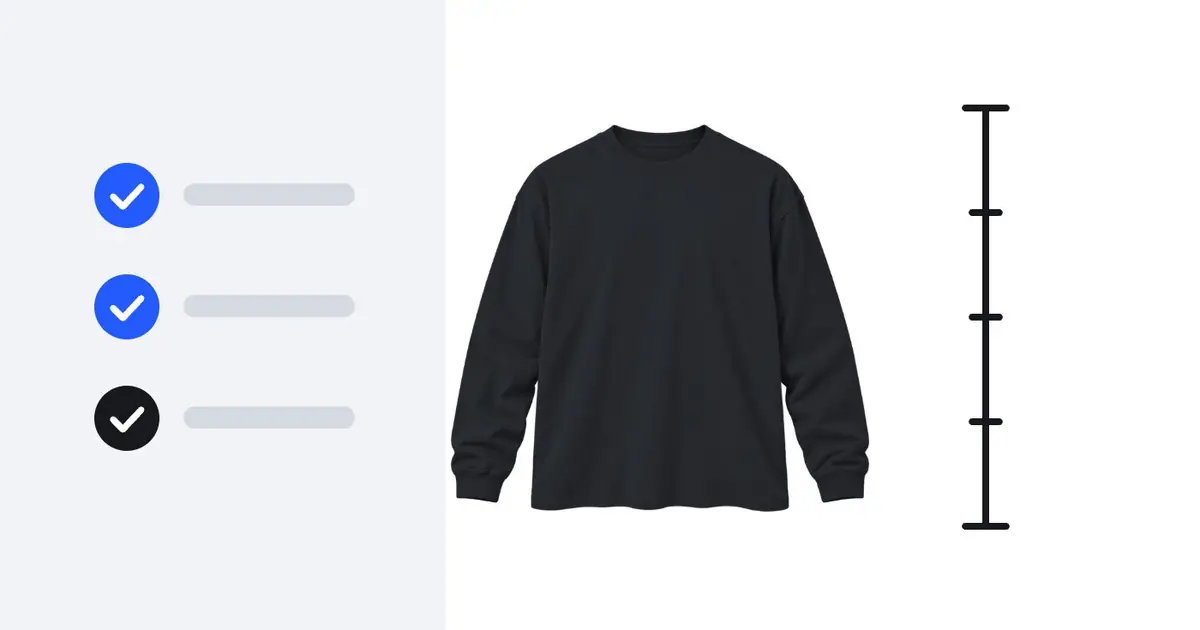
- 1 exact SKUsave the supplier, blank, color and size
- 2 measurementsrecord each dimension before and after washing
- 3 decisionsapprove, revise or switch blanks
Write down what you ordered
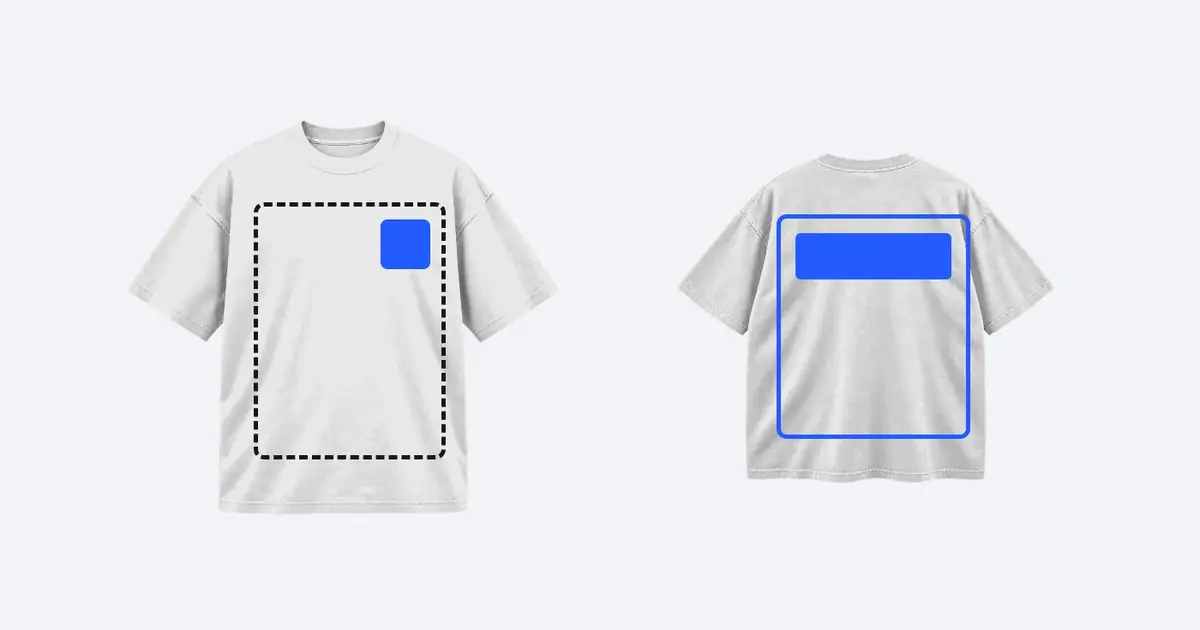
Save the supplier's product code, color, size, print method and the artwork version. Write down the print width and where it should sit. Use the same file and production settings you intend to sell. If the contrast changes substantially between a light and dark garment, sample both when the budget allows.
Match the garment
Record the supplier, blank, size and color from the order confirmation.
Match the artwork
Keep the exact file and note its intended width and placement.
Match the delivery
Write down production, shipping and any fees separately so you can price the item later.
Check the guide to T-shirt print placement if you need a starting point for the artwork width. Printful's discounted sample program has eligibility rules. Check its current terms before building that discount into your budget.
Measure the fit and inspect the print
Lay the piece flat without stretching it. Measure across the chest using the supplier's stated method and measure the body length from the same points you will use after washing. Try it on over what a customer would normally wear. On a hoodie, also check the sleeves, hood and ribbing.
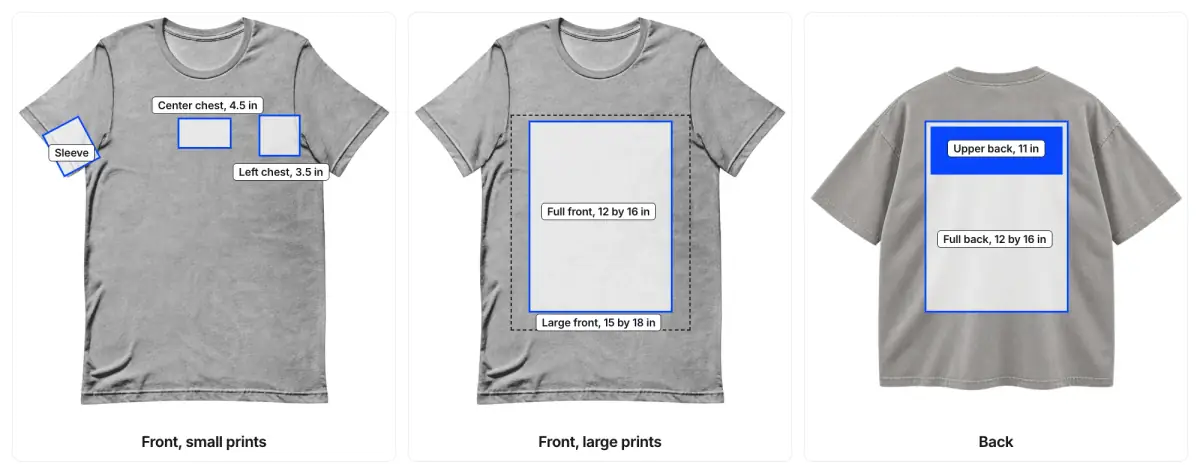
Look at the graphic under indirect daylight. Photograph the whole garment and a close-up with a ruler. Check that thin lines remain visible, the artwork is straight and readable, and the print lands where you intended. If something looks off, compare it with the original file before asking the supplier to fix it.
Wash it the way your customer will
Follow the instructions for the actual product and print method. Once it is fully dry, lay it flat and measure the same points again. Compare both photos for twisting, cracking, color loss or curled edges. A first wash can catch an obvious issue. Add more cycles if the result is borderline or your listing will make a durability claim.
Record the baseline
Save garment measurements, artwork width and one close photo before washing.
Follow the label
Record the temperature, cycle and drying method you used.
Measure the change
If a 28-inch body length becomes 27.5 inches, it shortened by about 1.8%. Decide whether that is acceptable for your fit and size chart.
Approve, revise or switch blanks
Approve the sample when the product page can describe it accurately. Revise the file if the garment fits but small details disappear. Switch blanks if the fit or feel misses the mark even though the print is good. Change one variable on the next sample so you can tell what fixed the problem.
Use the real sample for product photos where possible. Save the version you approved with the listing and use the actual delivered cost in your clothing pricing worksheet. If you are still planning the whole drop, follow the print-on-demand launch plan.
Questions about clothing samples
Should I sample every size?
Start with a core size and add another if the supplier changes the print size across the range, the size chart is unfamiliar, or the cut is central to your brand. Fit and print placement can look different at the ends of a size run.
Does approving a digital mockup count?
A mockup shows how a design is intended to look. The sample shows the actual fit, color, print feel and wash behavior. Keep both in your approval record.
Sources
- How do sample orders work?, Printful. Checked Nov 9, 2026.
- Product care instructions, Printful. Checked Nov 9, 2026.