Clothify
On this page
Use the size run planner to turn your own size weights into exact whole-piece quantities.
A small clothing collection is easier to develop when each piece has a job and every color has been checked. Start with a simple lineup, record the artwork and supplier choices for each item, then expand only when you can explain what the next piece adds.
Three pieces make a useful planning exercise. That is our suggested starting worksheet, not a minimum order, an industry rule or a promise about sales. One carefully developed tee can be a more coherent launch than a long list of almost identical designs.
Define
Choose one audience and one visual direction
Assign
Give each piece a different role
Limit
Pick the colors and sizes you can review properly
Verify
Check cost, samples and store information before launch
Give each piece a reason to exist
Write one sentence about why someone would choose each piece. A statement tee might carry the main illustration, a quieter tee might use a small mark, and a hoodie might offer the same idea for a different fit or season. You can also choose three tees with different artwork if that suits the audience better.
| Piece | Role in an illustrative collection | Design decision |
|---|---|---|
| Bridge tee | Main visual statement | One illustrated front print |
| Wordmark tee | Simpler everyday option | Small readable lettering |
| Club hoodie | A different garment choice | Adapt the illustration for its print area |
These are planning examples, not products already offered by a particular brand. Choose garments based on the people you want to serve. The broader clothing brand starting guide helps connect that audience decision to the rest of the launch.
Separate pieces, variants and order quantities
Three different tee designs are three distinct pieces. One tee design offered in cream, navy and burgundy has three color variants. A customer buying three identical navy tees is choosing an order quantity. Those choices create different design and fulfillment work.
Do not add duplicate products just to represent sizes when the store can group sizes under one piece. Keep separate pieces when the artwork, garment model or product story needs its own review. Use names that make the distinction visible while you work, such as “Bridge tee, large illustration” and “Bridge tee, small mark.”
- 3 designsexample collection size
- 2 colors eachexample color range
- 5 sizes eachexample size range
- 30 combinations3 × 2 × 5 before availability checks
That count is a planning total. A supplier may not offer every color in every size or location. Remove unavailable combinations before presenting them to a customer, and revisit availability when you prepare to sell.
Choose colors by reviewing the whole design
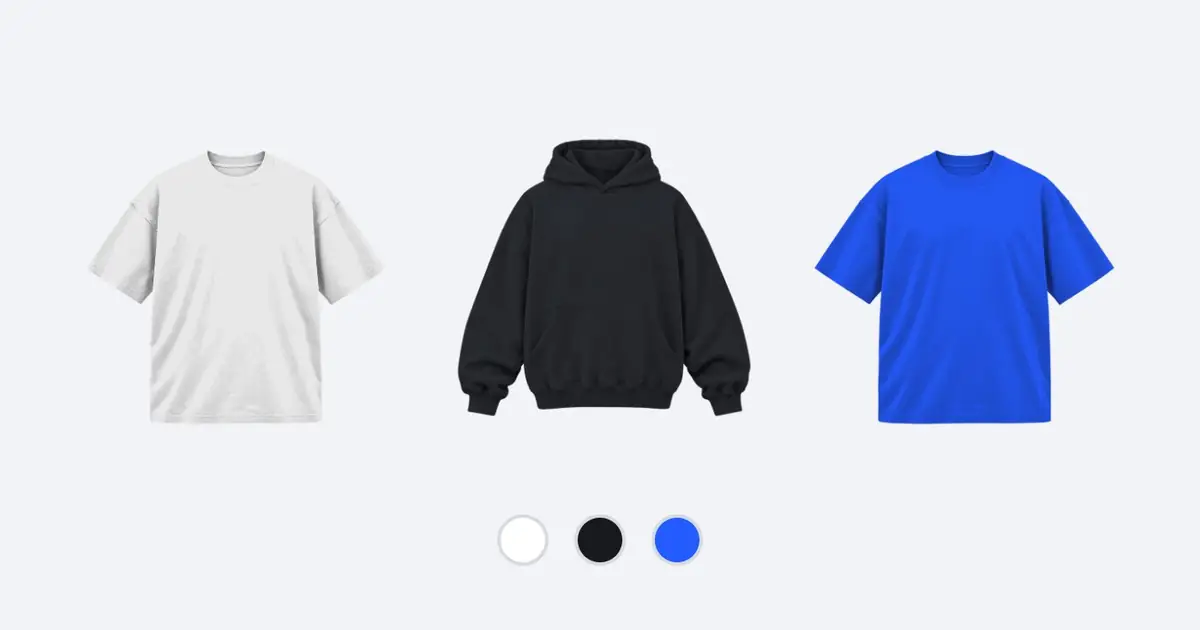
A cohesive palette does not mean every piece must use the same fabric color. Pick colors that make the artwork readable and fit the collection's direction. Check the lettering on each one instead of approving only the illustration.
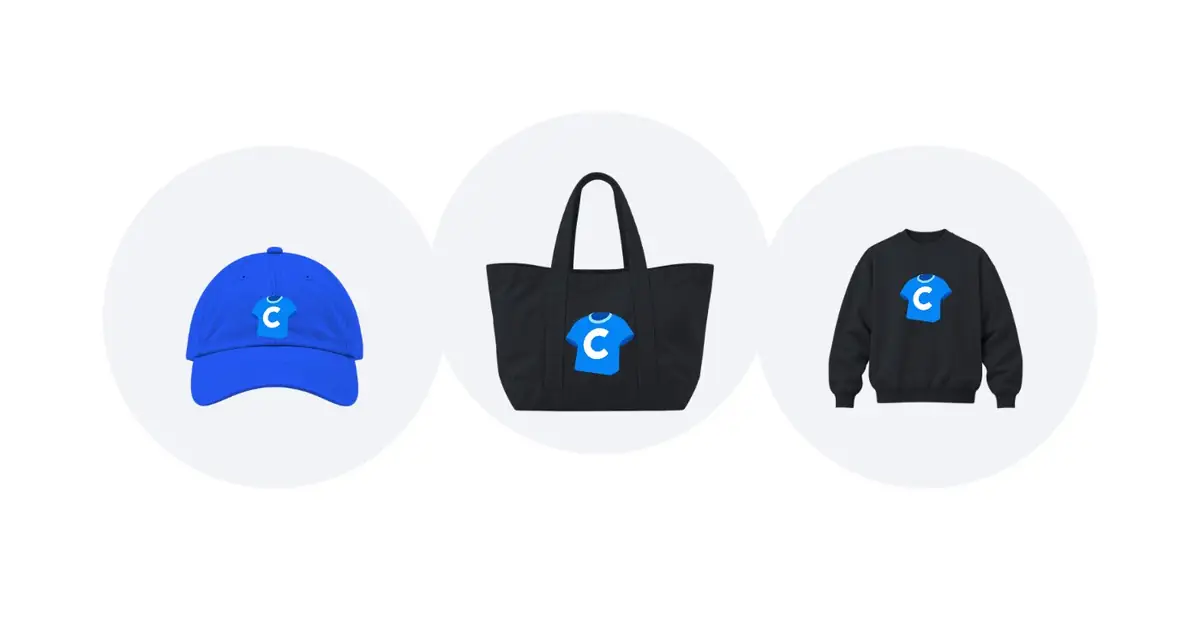
For an initial review, put the pieces beside each other at the same scale. Ask whether one is noticeably louder, whether the smallest lettering survives, and whether the garments still look related without a large logo on every front. The clothing logo guide covers ways to carry a mark across different pieces.
Recheck placement for each garment and size range
A saved graphic is reusable; its physical layout still needs a product-specific check. Record the print location and width for each piece. Inspect whether a centered graphic appears centered on the actual torso area, rather than on an image that includes sleeves and empty space.
Printful says designs generally keep their dimensions across sizes, but some products downscale artwork for smaller sizes. The relevant product's File guidelines identify these exceptions. Check those rules before promising one exact printed width across your entire size range. See Printful's garment scaling guidance.
If a tee and hoodie need different layouts, save both deliberately. Do not overwrite the approved tee just to make the hoodie look right. The AI clothing design workflow gives you a repeatable way to review artwork and layout separately.
Build a cost worksheet before choosing prices
Use one row per distinct cost case. A front-only tee and a front-and-back tee can need separate rows even when they use the same blank. Label estimates with the date, supplier, garment model, size and print locations so you know what the number describes.
| Worksheet field | What to record |
|---|---|
| Product | Garment model, color, size and technique |
| Production | Current cost for the actual print locations |
| Delivery | Current shipping quote for the destination |
| Payment | Applicable processor fees for the transaction |
| Store price | Item price and any shipping charged to the buyer |
| Remaining amount | Revenue less the listed variable costs |
Keep subscription expenses, advertising, sample purchases and possible refunds separate so a per-order remainder is not mistaken for overall profit. Add any applicable taxes or duties to the relevant calculation rather than assuming one rate fits every buyer. Use the clothing pricing guide for the full worksheet structure.
Sample the decisions with the most uncertainty
Prioritize the combinations that answer a real question: the new blank, the largest print, or the color where lettering is hardest to read. A sample in one color does not establish that every other color looks identical. Keep photos and notes alongside the exact version you ordered.
Printful describes samples as a way to inspect products with your design. Its sample-program access and allowances depend on the account, and it notes that availability is not universal. Check the actual order screen instead of building a budget around an assumed discount. Read the current sample-order rules.
Match
Compare the received item with the ordered version
Wear
Check fit, movement and how the print sits
Inspect
Read the smallest text and examine the print edges
Record
Keep the garment, size, color and revision with your notes
Questions about a first collection
Is three pieces enough to launch?
It can be enough to present a clear idea. The useful question is whether a buyer understands the choices and whether you have checked each one. More products are not a substitute for a finished first piece.
Should every piece come in every color?
Only offer the combinations that work visually and are available from the supplier. A limited, well-reviewed set is easier to explain and maintain than a large set with inconsistent images or unreadable prints.
What should be ready before I publish?
Confirm the pieces, variants, prices, images, delivery information and store policies. Keep draft images and unreviewed designs out of the final selection. Start with the checklist in this guide, then review the actual store rather than relying on the plan alone.
Sources
- How designs scale for garment sizes, Printful. Checked Nov 12, 2026.
- How sample orders work, Printful. Checked Nov 12, 2026.