Clothify
On this page
AI clothing design works best as a sequence: describe one idea, make the artwork, place it on a specific garment, then review the production file and a sample. The goal is a piece you can explain and reproduce, with lettering that stays readable in the colors you plan to sell.
Brief
Define the wearer, subject and exact words
Artwork
Review the illustration and lettering separately
Garment
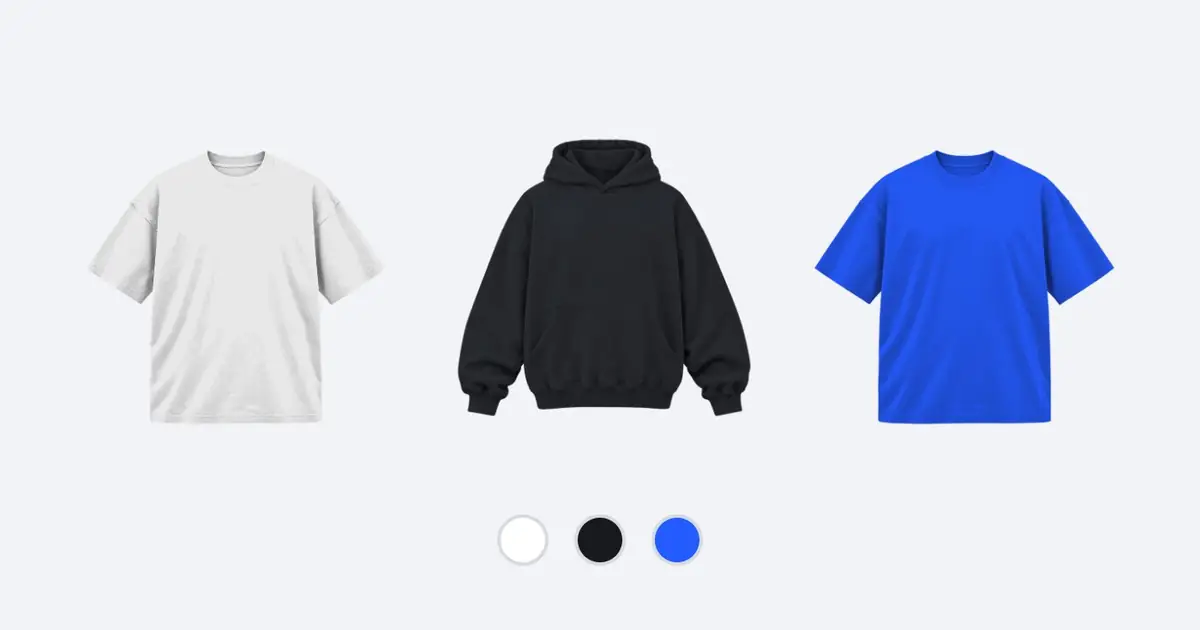
Choose a real piece, color and print placement
Production
Check the file and inspect a sample
Write a brief that makes decisions
A useful brief settles the choices that otherwise change on every attempt. Include the person wearing it, the mood, the main subject, the number of print locations and any colors that matter. Keep the words you want printed in their own sentence.
For example: “A relaxed tee for a neighborhood running group. One simple sunrise over a bridge, warm orange with dark blue outlines. Front print only. Exact words: RIVER RUN CLUB. No other lettering.” This is an illustrative brief, not a claim that a running club uses Clothify.
| Brief field | Useful direction | Too open-ended |
|---|---|---|
| Subject | Sunrise over one bridge | Something cool |
| Style | Bold shapes with a few fine details | Make it premium |
| Lettering | RIVER RUN CLUB, exactly | Put a slogan on it |
| Placement | Center front, below the collar | Somewhere on a shirt |
| Color | Orange and blue artwork on cream | Any color |
You can begin with that brief in Clothify's clothing design workflow. If you have no name yet, start with the artwork and follow the clothing brand naming guide before putting a final name on every piece.
Separate an artwork problem from a layout problem
Change one kind of problem at a time. If the drawing is right but the words are too low, move the lettering. If the subject is wrong, revise the subject without asking for a new color palette, font and background in the same instruction.
Save a version you like before requesting another edit. Compare the two at the same zoom and on the same garment color. This makes it easier to notice a missing feature or a spelling change that a more dramatic composition might hide.
Read
Check every word, including small letters
Inspect
Look for stray marks, broken lines and unwanted background pixels
Compare
Check that a revision preserved the parts you approved
Keep
Save the version you want to carry onto the garment
Review the design on each garment color
Treat every color as a separate visual check. A dark wordmark that works on cream may disappear on burgundy. Preview the smallest lettering first, then the edges of the illustration. Do not judge only the brightest or largest part of the artwork.
Printful recommends checking transparency, strong contrast, the color profile and the requirements for the specific product. It notes that screen colors can differ from printed colors, and recommends sRGB for uploaded print files. See its print-file preparation guide.
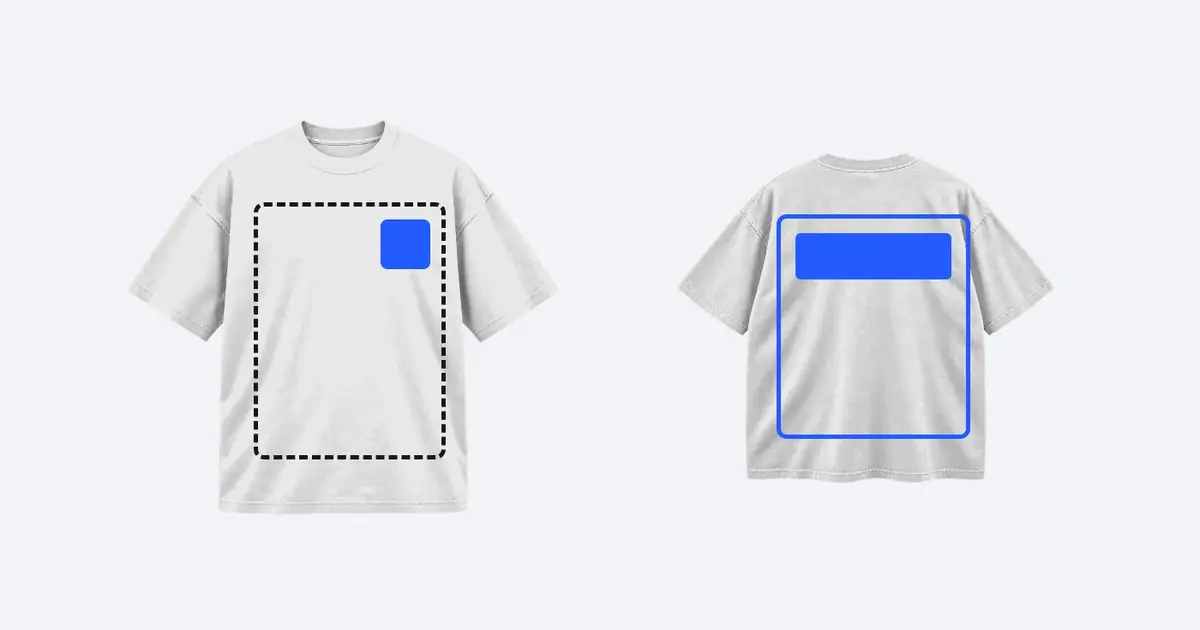
Choose a light lettering treatment for a dark piece and check it again after any fabric-color change. If two colors need materially different artwork to stay readable, keep track of which file belongs to which version. The print placement guide covers chest, front, back and sleeve layouts.
Check pixels at the size you will print
A pixel count only becomes useful when paired with a physical print width. Divide the image width in pixels by the intended width in inches to calculate pixels per inch. This describes the file; it does not certify the supplier's printing result.
- 2,400 pixelsillustrative artwork width
- 8 inchesintended print width in this example
- 300 pixels per inch2,400 divided by 8
At 12 inches wide, the same 2,400-pixel file provides 200 pixels per inch. Enlarging the display preview does not create more image detail. Printful's resolution explanation connects file dimensions to physical print size and directs creators to each product's file guidelines.
Use the actual product's requirements instead of a universal export preset. A tiny chest logo and a large back illustration need different checks. For embroidery, review the technique-specific requirements rather than assuming a print file can be stitched unchanged. The printing-method comparison explains the different use cases.
Keep the garment and the photograph distinct
The design file tells production what to put on a piece. A product image helps a shopper understand that piece. Keep the design approval separate from approval of a scenic image: a convincing scene can still show the wrong print size, fabric color or neckline.
Prepare a clear front view first. Add a back view if something is printed there, and use a close-up where a buyer needs to read a detail. A lifestyle image should agree with those reference views. Do not use generated scenery as evidence of how a physical sample fits or feels.
Questions about AI clothing design
Can I print the first image that looks good?
Review the file and placement first. Check the exact lettering, background, size and product requirements, then inspect a sample. A large screen preview can hide small lettering and print-size problems.
Do I need a separate design for every garment?
You can reuse a visual idea, but review its layout on each garment. A wide graphic may suit a tee and need simplification for a cap. Keep the visual family consistent without forcing identical dimensions everywhere.
What should I do before making a whole collection?
Finish one piece, then use it as the reference for the next. Compare the new piece against the same artwork, color and placement checklist. Our small collection plan shows how to keep pieces and color variants organized.
Sources
- Prepare a print file for best results, Printful. Checked Nov 12, 2026.
- DPI, resolution and actual print file size, Printful. Checked Nov 12, 2026.